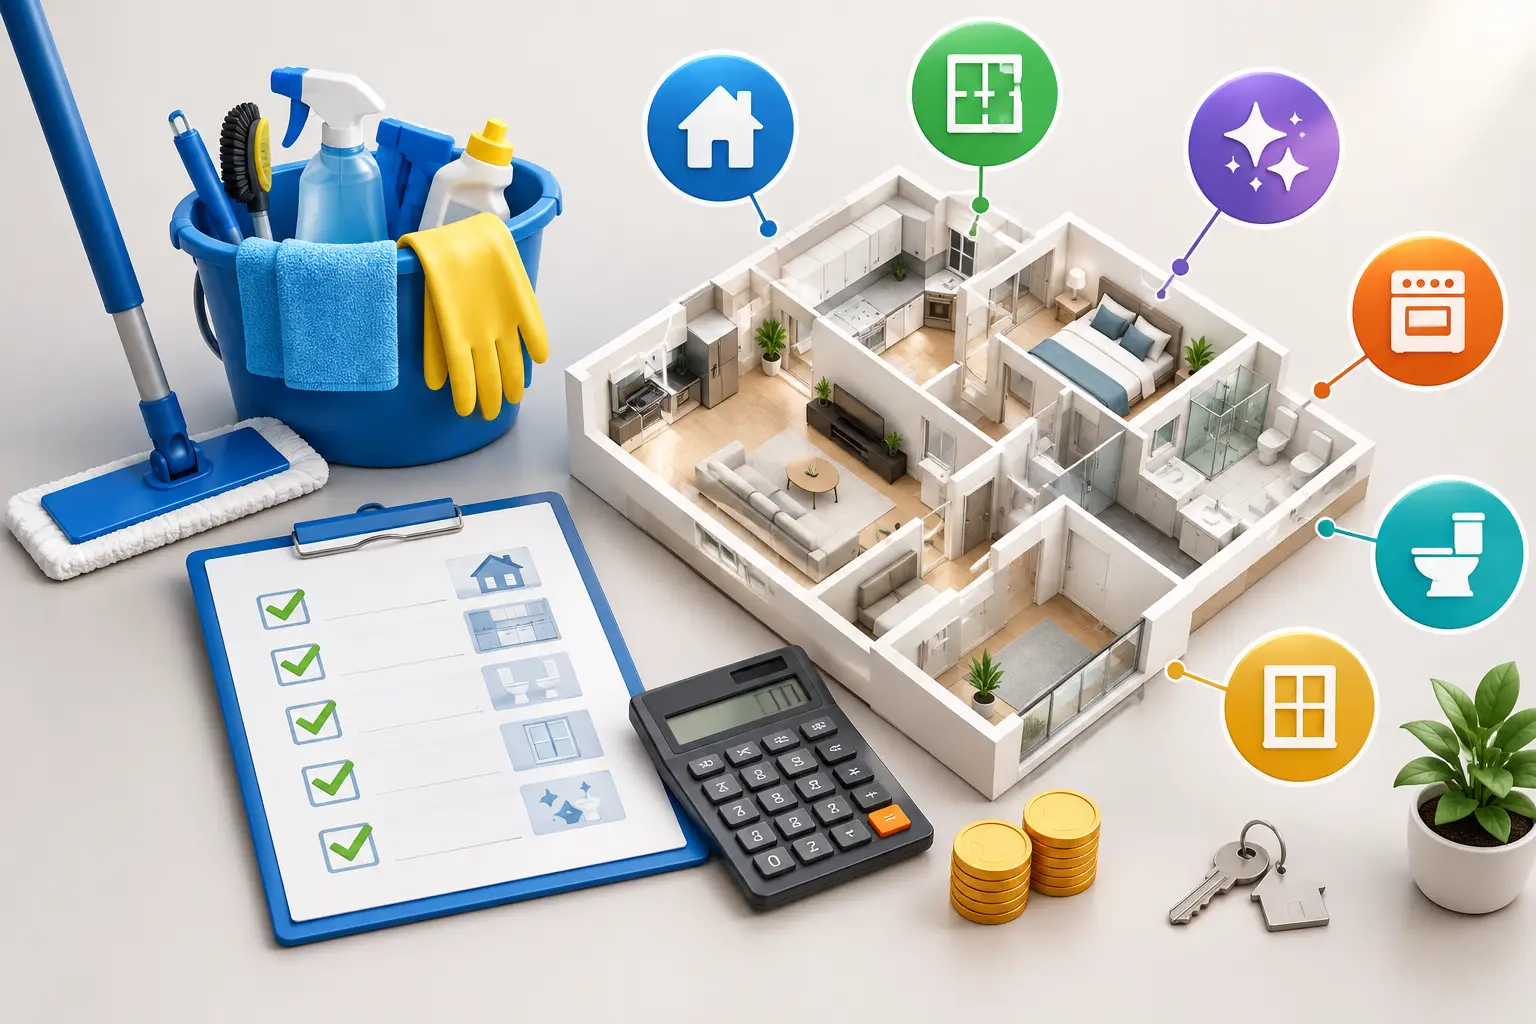


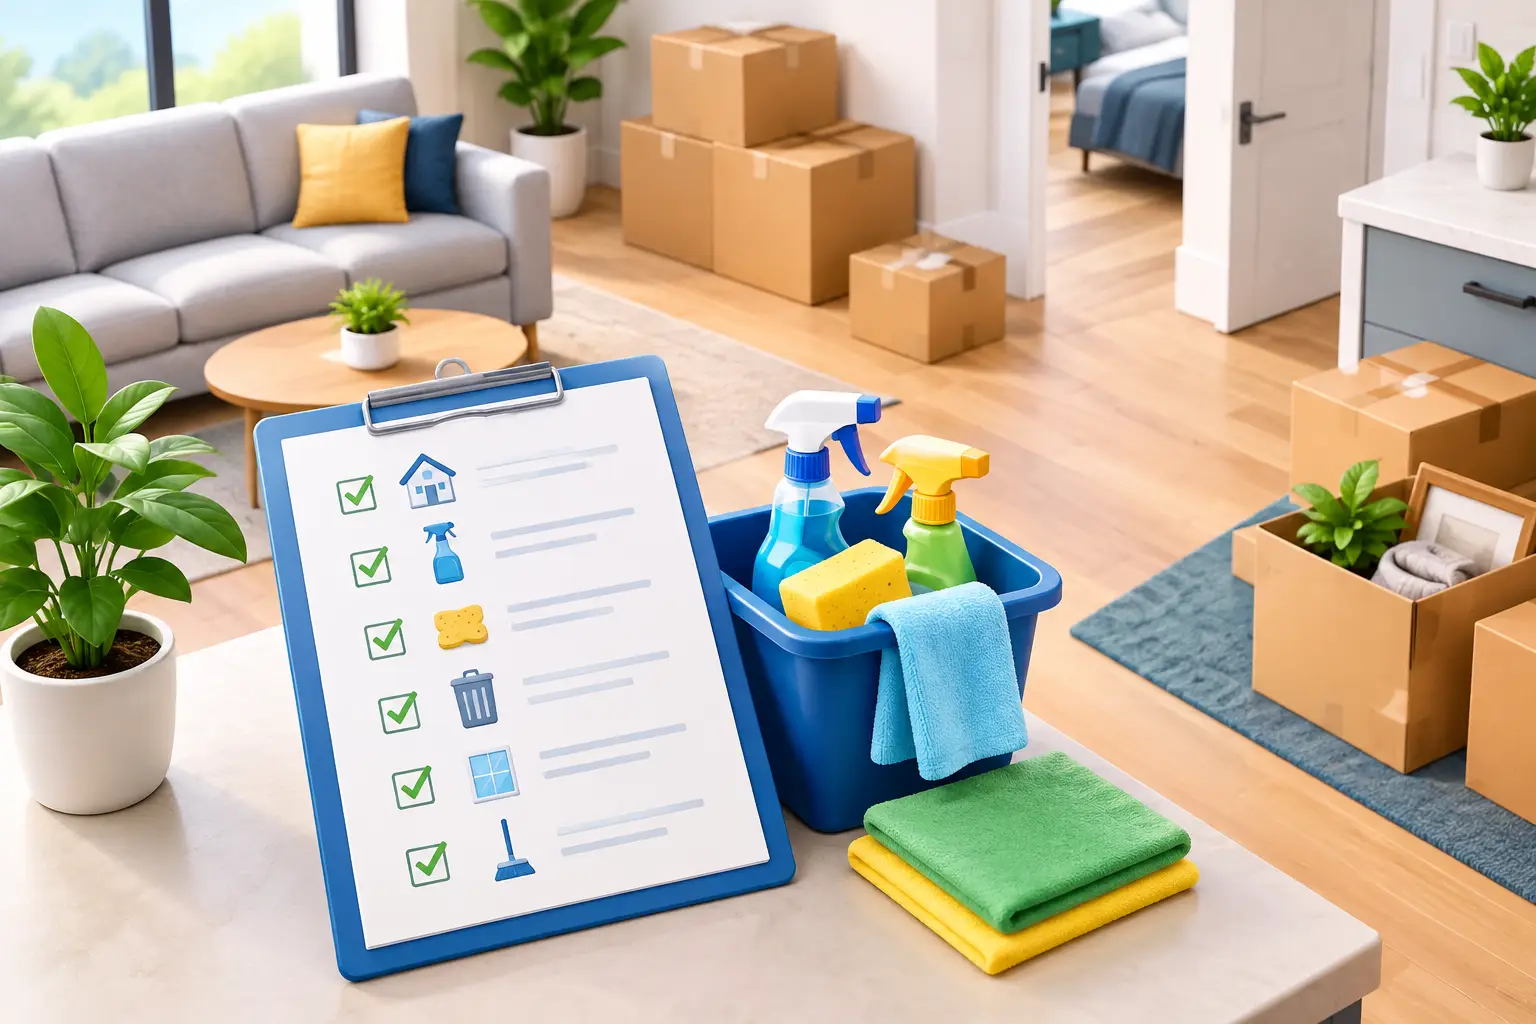
The keys are nearly due back, the removal truck is booked, and the last thing anyone wants is to spend moving day hunting for a cloth. A practical moving house cleaning checklist gives you a clear order of work: leave the old property clean enough for its final inspection, then make the new one feel safe, fresh and properly yours before the boxes take over.
The right level of cleaning depends on your tenancy agreement, the property’s condition and whether you are moving from a rental or selling a home. Start early, photograph the finished rooms, and keep your entry and exit condition reports close by. This avoids rushed decisions when the property manager or new occupants are waiting.
Plan Your Moving House Cleaning Checklist First
Cleaning works best when it follows the move, not the other way around. Pack one room at a time, remove furniture, then clean from high to low and from the back of each room towards the exit. Dusting a ceiling fan after vacuuming the carpet only creates work twice.
Set aside a small cleaning kit that travels with you rather than being packed into a random carton. Include microfibre cloths, a non-scratch sponge, gloves, multipurpose cleaner, bathroom cleaner, degreaser, glass cleaner, a vacuum, mop, bucket and rubbish bags. For heavier jobs, such as oven grime, shower scale or stained carpet, use a product suited to the surface and follow its directions carefully.
Before starting, take a slow walk through the empty property. Check inside cupboards, behind doors, under appliances and in storage areas. These are the spots most easily missed during a final inspection.
Clean the Old Property for Handover
A rental exit clean should return the home to the condition required by your agreement, allowing for fair wear and tear. It is not always about making an older property look brand new. However, built-up grime, food residue, cobwebs and forgotten rubbish are avoidable issues that can delay a smooth handover.
Kitchen
The kitchen usually takes the longest, particularly once appliances are moved. Empty every cupboard and drawer, remove crumbs and wipe internal and external surfaces. Clean the splashback, benchtops, sink, taps and plughole, paying attention to grease around handles and light switches.
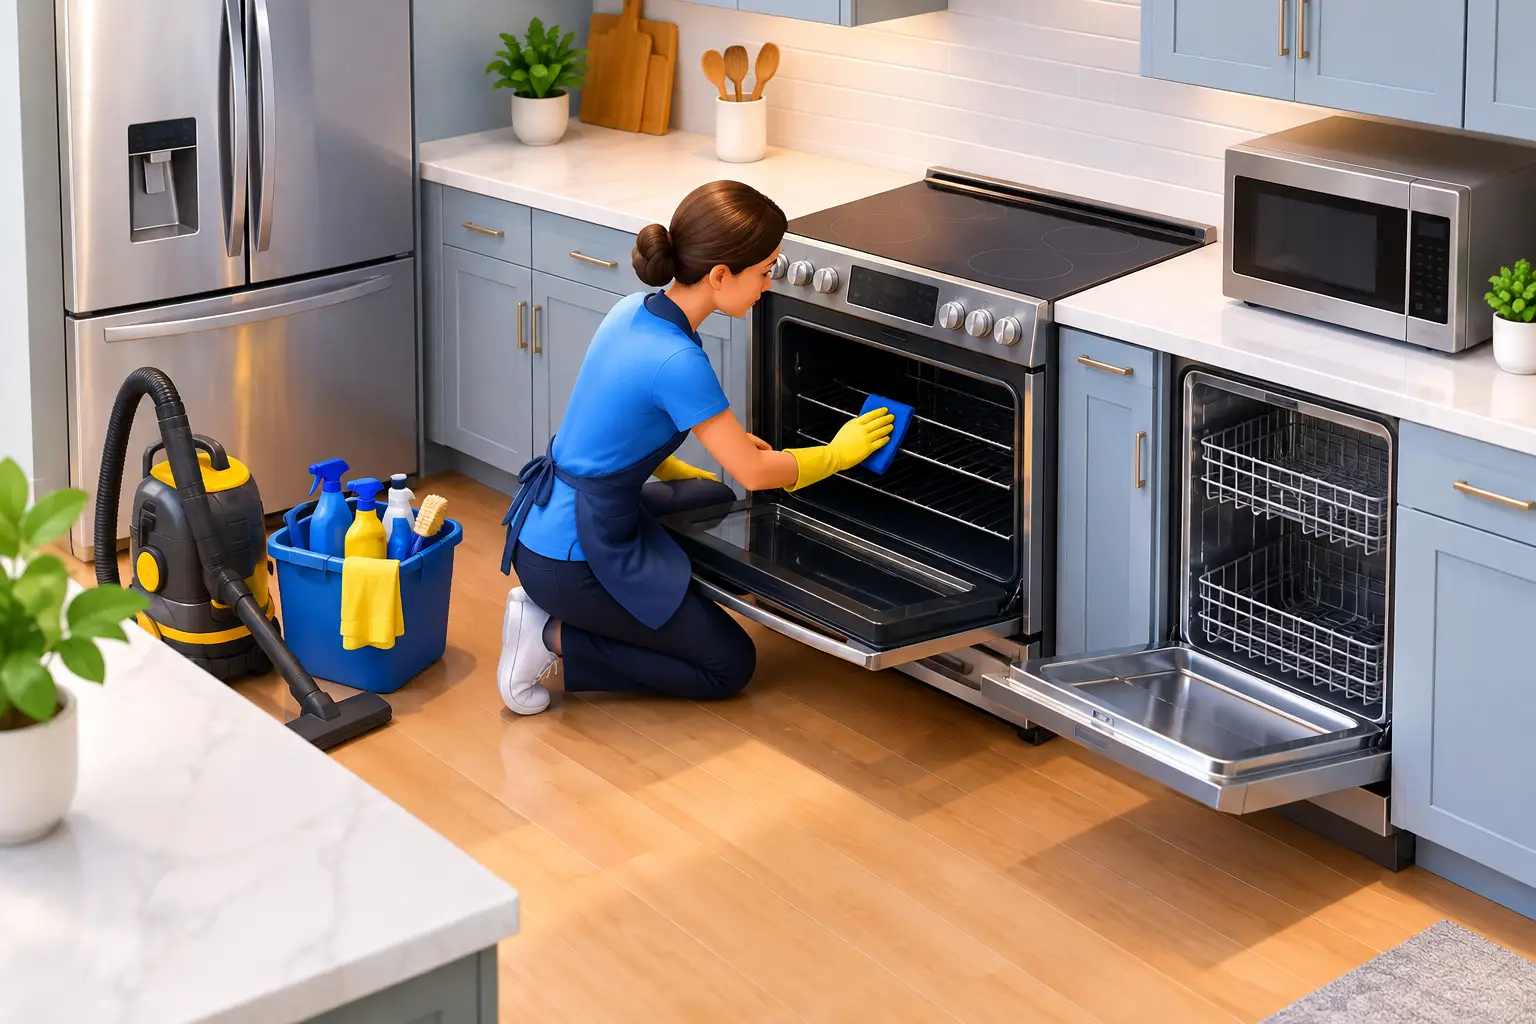
For the oven, remove racks and trays if practical, treat baked-on residue with an appropriate oven cleaner, and wipe the glass, door seals and control knobs. Do not forget the rangehood filters, cooktop edges and the space beside the oven. If the property has a dishwasher, clear the filter, wipe the seals and run a cleaning cycle if needed.
Finish by pulling out the fridge only if it is safe to do so. Vacuum dust from behind it, clean the floor, and leave it empty and dry unless the appliance belongs to you and is moving with you.
Bathroom, toilet and laundry
Bathrooms reward detail. Remove all personal products, then clean the vanity, basin, mirror, tapware, shower screen, bath and toilet. Treat soap scum and mineral marks before scrubbing, as rushing this step can leave streaks or dull surfaces.
Inspect grout, corners and extractor vents for mould or dust. Persistent mould may need specialist attention, particularly if it has spread into silicone or ceiling areas. In the laundry, wipe the tub, cupboards and machine recess, and clear lint from the dryer filter if one is supplied with the property.
Bedrooms, living rooms and hallways
Work around the room in a consistent direction. Wipe skirting boards, doors, door frames, wardrobe shelves, handles, switches and window sills. Remove cobwebs from ceiling corners, dust light fittings where safe, and clean mirrors or internal glass.
Vacuum carpets slowly, including wardrobe floors and edges. Hard flooring should be vacuumed or swept first, then mopped with a product that suits the material. Avoid soaking timber or laminate floors, as excess water can cause damage.
Windows, walls and outdoor areas
Clean reachable internal window glass, tracks and sills. Exterior windows may require a different approach, especially on upper levels or where access is unsafe. Never lean out of a window or use unstable ladders to finish an exit clean.
Spot-clean marks on walls with care. Aggressive scrubbing can lift paint and create a more noticeable patch than the original mark. Outside, remove your rubbish, sweep patios and balconies, clear leaves from entrances, and check the letterbox, shed, garage and wheelie bins. If garden care is your responsibility, mow, trim and weed as required by the tenancy agreement.
For a final room-by-room check, make sure you have completed these essential jobs:
- Empty all cupboards, drawers, wardrobes, storage spaces and the garage.
- Remove hooks, Blu Tack and temporary fittings where permitted, then deal with residue carefully.
- Bag and remove all rubbish, including food from the fridge and items left in the shed.
- Check that lights, fans, taps and appliances are switched off as appropriate.
- Take clear photos once each room is empty and clean.
Prepare the New Home Before Unpacking
An incoming clean is easier when rooms are empty. Even a well-presented home can have dust in cupboards, crumbs in drawers or marks left behind by removal work. Cleaning first means your kitchen items, bedding and children’s belongings go into a genuinely fresh space.
Begin with high-touch areas: door handles, switches, cupboard pulls, tapware, toilets and benchtops. Then clean inside kitchen cupboards, pantry shelves, wardrobes, drawers and the fridge space. If you have young children, elderly family members or anyone with allergies in the household, this first clean can provide extra reassurance.
Vacuum and mop floors before furniture arrives, including corners that will later be hidden by beds and sofas. Wipe skirting boards, window sills and vents, then clean bathrooms and the kitchen. Open windows for ventilation where conditions allow, but keep the property secure while you work.
If the home has been vacant, check for signs that need attention beyond standard cleaning. Look for leaks beneath sinks, pest activity, damaged flyscreens, mould, blocked gutters visible from ground level, or overflowing outdoor bins. Raise concerns promptly with the landlord, agent or previous owner rather than trying to clean around a maintenance problem.
Know When to Book Professional Help
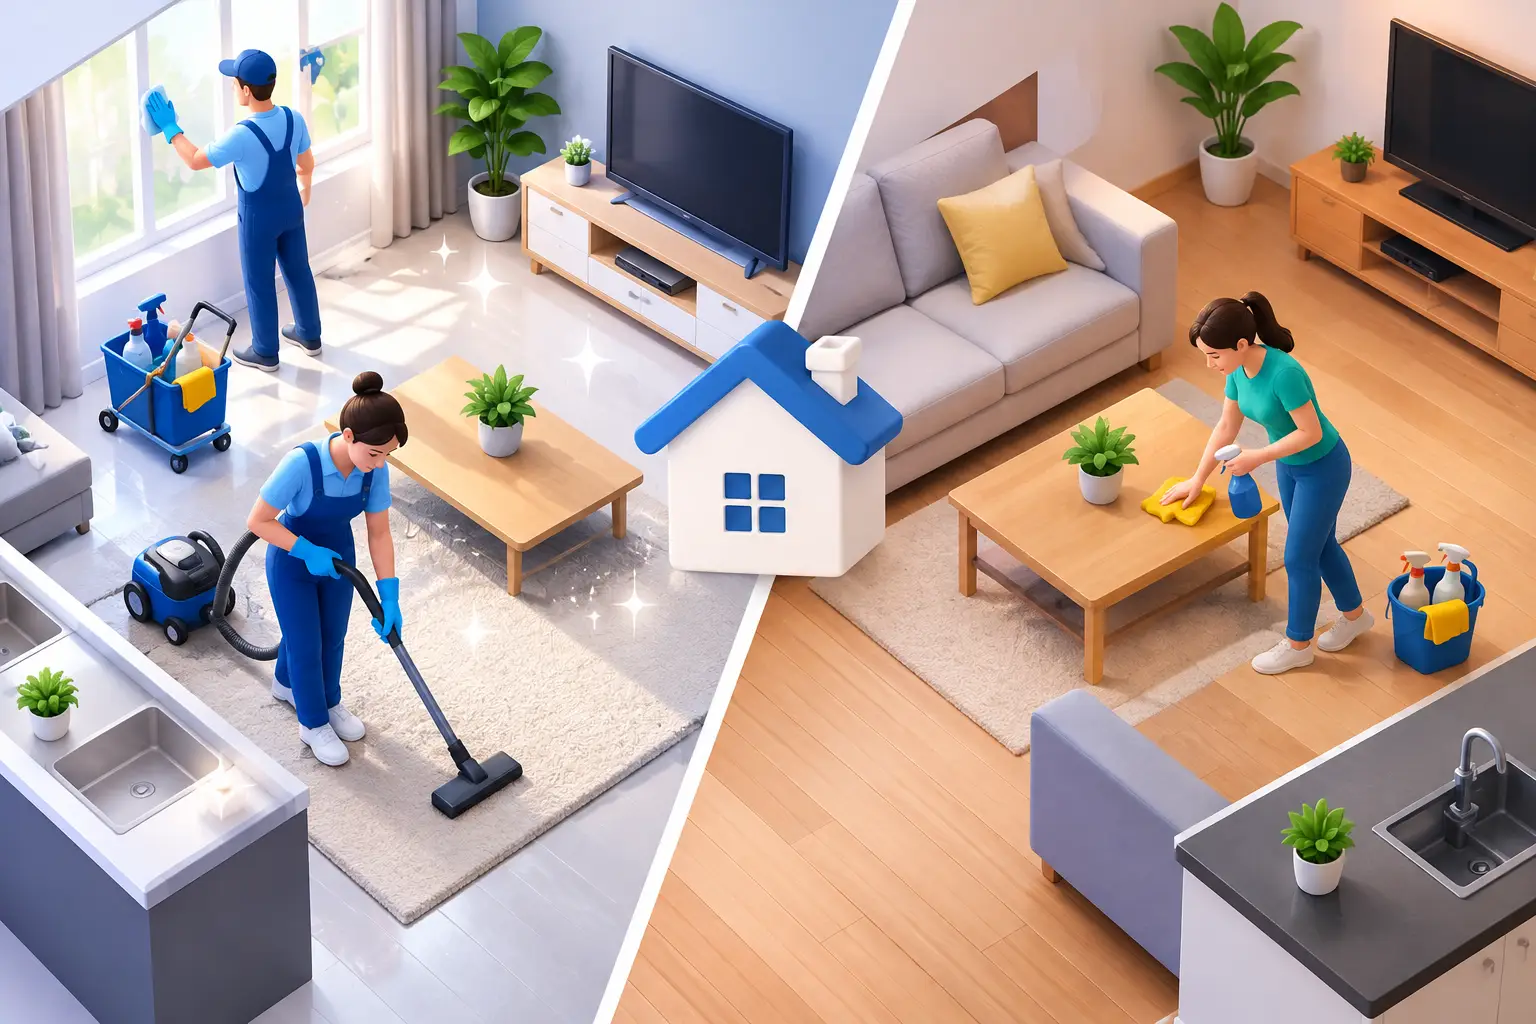
Doing the work yourself can save money when the property is already well maintained and you have time between tenancies. The trade-off is that moving week is demanding, and specialist tasks can take longer than expected. Carpets, ovens, high windows, exterior washing and post-construction dust are common reasons to bring in trained cleaners.
Professional support is particularly useful when an inspection deadline is close, the home is large, or several services are needed at once. For landlords and property managers, consistent cleaning standards also help present a rental well for new tenants and reduce downtime between occupancies.
Clean Bees provides customised moving, end-of-tenancy and deep-cleaning support across Auckland, Hamilton and Wellington, with certified, experienced and fully insured professionals. A supervisor-led quality check and 100% Satisfaction Guarantee provide added confidence when the property needs to be ready on schedule.
Leave one final bag in the car with cleaning cloths, bin liners, toilet paper, hand soap and a charged mobile. Once the last box is unloaded, those small essentials make the new house feel less like a worksite and more like home.