


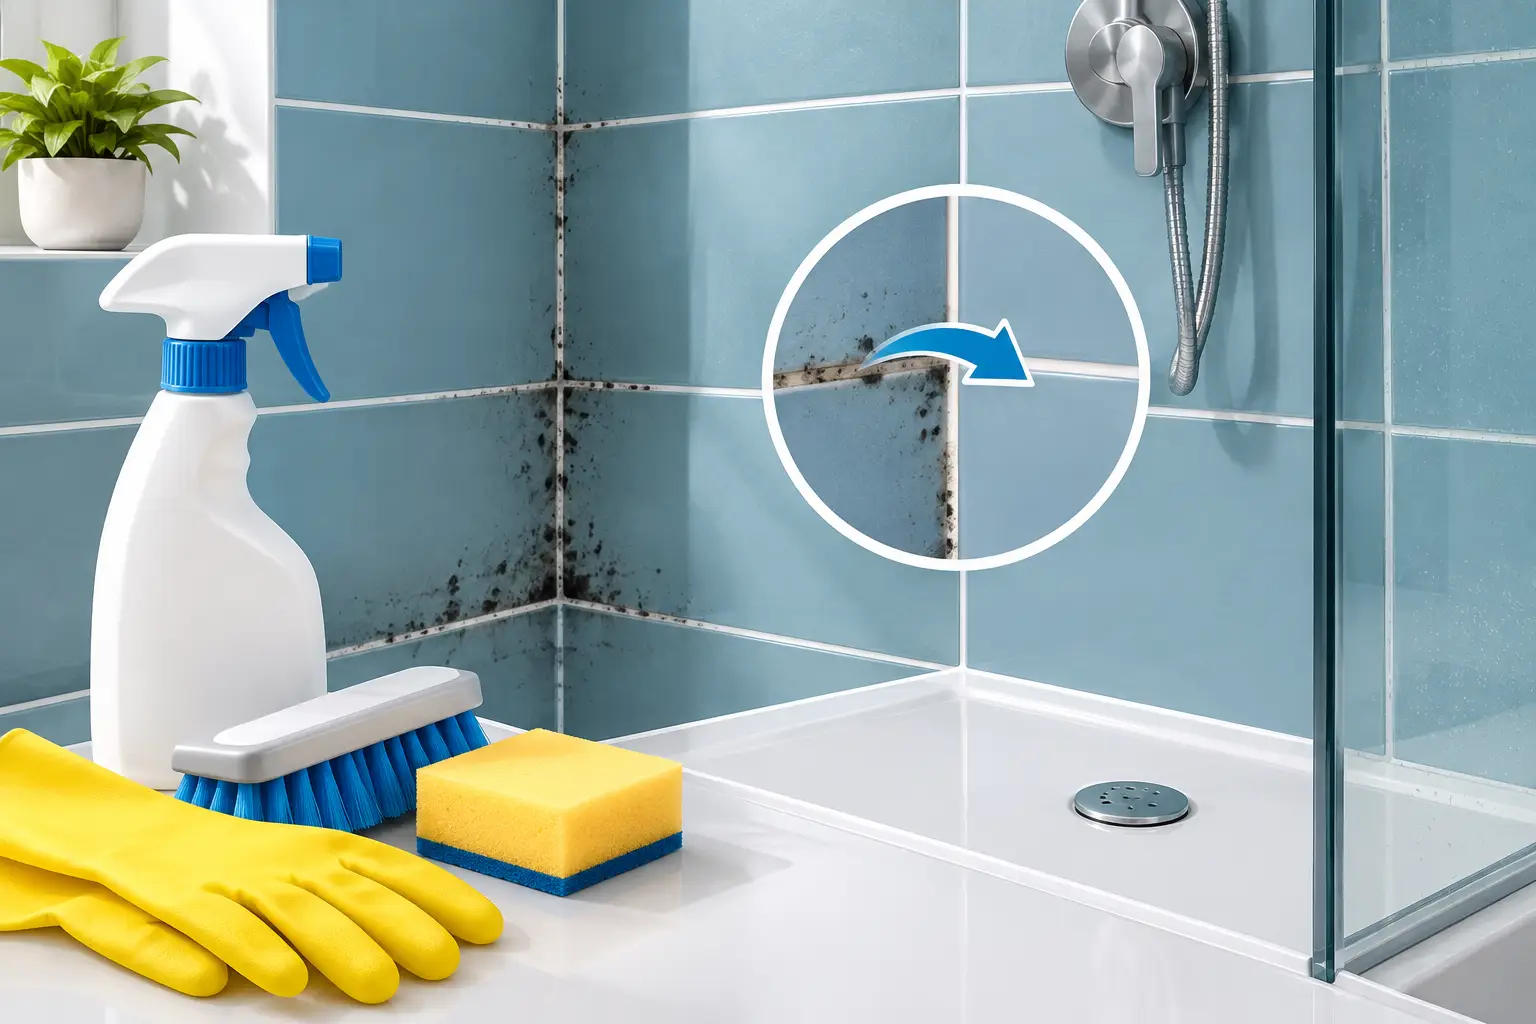
A few dark dots along the shower edge can quickly turn into black staining across the whole tiled wall. To remove mould from bathroom grout properly, you need more than a quick wipe: the cleaner must reach the porous grout, the room needs to dry afterwards, and the moisture source has to be addressed. Otherwise, the mould often returns within days.
For homeowners, tenants and property managers, clean bathroom grout makes a real difference to how fresh, cared-for and inspection-ready a property feels. The good news is that surface mould can often be treated safely at home. The key is choosing the right method for the condition of the grout and knowing when a larger issue needs professional attention.
Why mould forms in bathroom grout
Bathrooms create ideal conditions for mould. Steam settles on cool tiles, water collects around shower screens and baths, and grout absorbs more moisture than glazed tile surfaces. If the room has limited ventilation, dampness can remain for hours after a shower.
Soap residue, body oils and dust also give mould something to feed on. This is why grout may look clean at first glance but develop dark patches in corners, around silicone seals and along the floor line.
Mould on grout is not always a sign of poor housekeeping. It can be caused by a weak exhaust fan, a shower leak, cracked grout, failed silicone or a bathroom that simply does not dry well in winter. Treating the visible growth is worthwhile, but stopping repeat growth depends on finding the underlying moisture problem.
Before you remove mould from bathroom grout
Protect yourself and the bathroom before applying any product. Open windows and run the extractor fan where possible. Wear gloves, and consider a mask and eye protection if you are working in a small bathroom or using a stronger mould treatment. Keep children and pets away until all treated surfaces have been rinsed and dried.
You will usually need a grout-safe mould cleaner, an old toothbrush or small grout brush, clean cloths, warm water and a dry towel. A stiff wire brush is best avoided. It can scratch tiles, roughen grout and make future staining easier.
Never mix cleaning products. In particular, do not combine bleach with vinegar, ammonia or other bathroom cleaners. Mixing chemicals can create dangerous fumes. If you switch products, rinse the area thoroughly first and allow it to air out.
A practical method for cleaning mouldy grout
The right approach depends on whether you are dealing with recent surface spots or established discolouration. Start gently and only step up treatment if the marks remain.
1. Remove surface dirt first
Rinse the shower area with warm water, then wipe away loose soap scum and hair. Cleaning the surface first helps the mould treatment contact the grout rather than sitting on grime. Dry excess water with a cloth so the cleaner is not diluted straight away.
2. Apply a suitable mould treatment
A purpose-made bathroom mould cleaner is often the most reliable option when used exactly as directed on the label. Some households prefer a paste of bicarbonate of soda and water for light marks. Apply it to the grout, leave it briefly, then work it in with a soft brush.
For stubborn black staining, a bleach-based product may lighten the colour, but it is not suitable for every surface and should be used with care. Check the tile, grout and sealant manufacturer guidance first. Bleach can affect coloured grout, damage nearby fabrics and create strong fumes in an enclosed room.
Vinegar is sometimes suggested as a household mould remedy, but it is not a universal answer. Its acidity can be unsuitable for natural stone, some grout finishes and certain tiles. It should never be used after a bleach product. When in doubt, test any cleaner on a small hidden section first.
3. Brush without damaging the grout
Use a toothbrush or grout brush in short, controlled strokes. Concentrate on the grout lines rather than scrubbing broadly across the tiles. Give the cleaner enough contact time before brushing, as force alone can wear down grout without removing the staining beneath.
If mould is around silicone seals, treat that area separately. Black marks embedded inside silicone often cannot be fully scrubbed away because the mould has penetrated the sealant. Replacement may be the cleanest and most durable solution.
4. Rinse and dry thoroughly
Rinse away all cleaning residue with clean water, then dry the grout, tiles and shower edges with a towel or microfibre cloth. This final step matters. A damp bathroom after cleaning is still a bathroom that supports mould growth.
Leave the door and window open for a while where practical, and keep the extractor fan running. If your fan is noisy, weak or not clearing steam effectively, it may need cleaning, repair or replacement.
When dark grout is more than surface mould
Not every dark patch will disappear, even after careful cleaning. Sometimes the mould has stained old or porous grout. In other cases, the grout is cracked or the area behind the tiles is staying damp due to a leak.
Look more closely if you notice a musty smell, recurring mould in the same location, loose tiles, soft walls, peeling paint or water marks on an adjoining ceiling. These signs can indicate moisture beyond the grout line. Repeatedly applying stronger chemicals will not solve that problem and may make the bathroom less pleasant to use.
For rental properties, it helps to document recurring mould with dated photos and report suspected leaks or ventilation issues promptly. Tenants should maintain ordinary cleaning and ventilation, while landlords and property managers need to address building defects and water ingress. Clear communication early can prevent a small bathroom issue becoming a costly repair or tenancy dispute.
Prevent mould returning after cleaning
The most effective routine is simple: remove moisture every day rather than waiting for a deep clean. After showering, use a squeegee or towel on the glass, tiles and shower floor. Run the extractor fan during the shower and for at least 15 to 20 minutes afterwards, if the fan permits it.
Keep shower products off the floor where possible and wash away soap build-up regularly. Once a week, wipe the grout and silicone lines with a suitable bathroom cleaner. This takes far less effort than restoring heavily stained grout later.
In homes with limited natural ventilation, leaving the bathroom door open after use can help air circulate, provided privacy and household needs allow. A heated towel rail can also reduce lingering dampness, but it will not replace adequate extraction. If condensation is heavy throughout the house, broader moisture management may be needed.
Sealing grout can offer another layer of protection once it is clean, fully dry and in sound condition. A grout sealer reduces water absorption and makes routine cleaning easier. It is not permanent, though, and will need reapplying according to the product instructions and the level of bathroom use.
When to book professional bathroom cleaning
Professional help is sensible when grout is heavily stained, mould repeatedly returns, the bathroom is being prepared for a property inspection or move-out, or you simply do not have time to manage a detailed clean. A trained team can clean tiled surfaces methodically, identify areas that need repair rather than more scrubbing, and leave the room looking fresher without unnecessary disruption.
For landlords and property managers, regular professional cleaning can also support a consistent presentation between tenancies and help identify early maintenance concerns. Clean Bees provides customised cleaning support across Auckland, Hamilton and Wellington, with certified, experienced and fully insured professionals and a 100% Satisfaction Guarantee.
A clean grout line is a small detail, but it changes the feel of the entire bathroom. Deal with mould early, dry the room well after every use, and seek advice when the same dark patches keep returning – your bathroom will be healthier, more comfortable and easier to maintain.